How to Build a Marketing Workflow with Automation in 2026
A marketing workflow is a map of automated actions that execute in response to contact behavior — emails sent, tags applied, CRM records updated, sales team alerts triggered. Knowing how to build a marketing workflow with automation is the technical core of any marketing automation strategy. Without proper workflows, you have a platform and a list but no system.
The difference between businesses that see strong ROI from marketing automation and those that don’t usually comes down to workflow design: do the automations reflect a real understanding of the customer journey, or were they built to use the platform’s features without a clear strategic purpose?
What Is a Marketing Workflow?
A marketing workflow is a structured, automated sequence of actions triggered by a specific event. It can be as simple as “when someone subscribes → send a welcome email” or as complex as “when someone visits the pricing page → check if they’re already a customer → if not, check their lead score → if above 50, assign to sales rep and send personalized email → if below 50, add them to nurture sequence.”
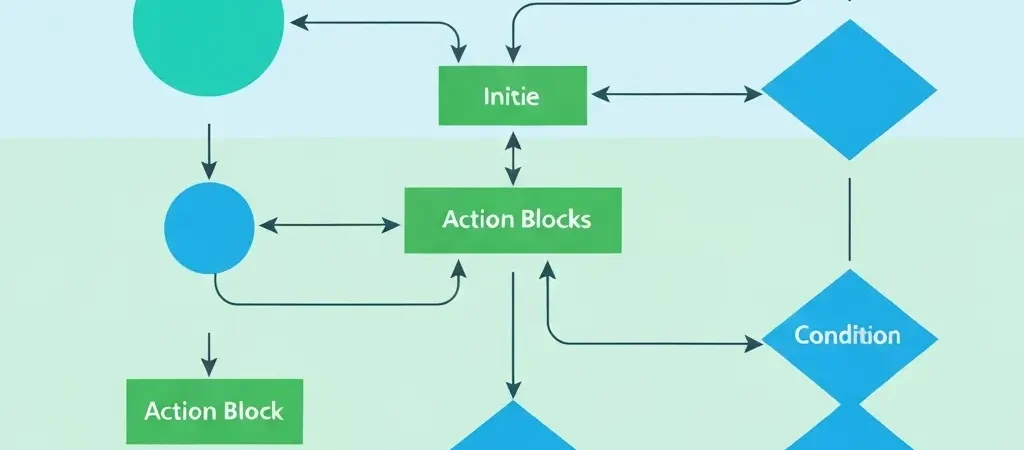
Key components of any marketing workflow:
- Trigger — the event that starts the workflow (form submission, page visit, tag added, purchase, date-based)
- Actions — what the workflow does (send email, add tag, update contact property, notify sales rep, add to/remove from list)
- Delays — time gaps between actions (wait 2 days before sending Email 2)
- Conditions — if/then logic that creates branching paths based on contact data or behavior
- Exit conditions — the criteria that remove a contact from the workflow (purchase made, tag removed, unsubscribed)
Step 1: Define Your Trigger
Every workflow starts with a trigger. Triggers can be categorized as:
Event-based triggers (best for responsiveness):
- Form submission (newsletter signup, demo request, ebook download)
- Page visit (pricing page, specific product page)
- Email interaction (clicked specific link, opened email)
- Purchase or upgrade event
- Support ticket submitted
Property-based triggers (best for segmentation):
- Tag added to contact
- Contact property updated (lifecycle stage changed, industry set)
- Lead score crosses threshold
Date-based triggers (best for lifecycle management):
- X days before subscription renewal
- Contact’s birthday or subscription anniversary
- X days since last login or activity
- Trial expiry date approaching
Pick the tightest, most specific trigger possible. “Subscribes to list” is valid, but “subscribes via landing page for Product X” is better because it tells you exactly what the contact is interested in.
Step 2: Map the Workflow on Paper First
Before touching your automation platform, sketch the workflow on paper or in a diagramming tool. This prevents the common mistake of building a workflow that seems logical in the drag-and-drop canvas but doesn’t match the actual customer journey.
Your workflow map should answer:
- What does the contact experience at each step?
- How many days does the full workflow take from start to goal?
- What are the possible branches (if they click vs. if they don’t)?
- What is the desired outcome, and what specific action achieves it?
A simple lead nurture workflow mapped out:
[TRIGGER: Downloads resource from landing page]
  ↓
[ACTION: Send Email 1 — deliver resource]
  ↓
[DELAY: 2 days]
  ↓
[ACTION: Send Email 2 — related tip]
  ↓
[DELAY: 3 days]
  ↓
[CONDITION: Did they open Email 2?]
  ├─ YES → [ACTION: Send Email 3 — case study + demo CTA]
  └─ NO → [ACTION: Send Email 3b — simpler re-engagement]
  ↓
[EXIT CONDITION: Demo booked OR unsubscribed]
Step 3: Add Conditions and Branching Logic
Conditions are the intelligence layer of a workflow. They evaluate contact data or behavior and route contacts down different paths based on the result.
Common condition types:
- Email engagement — “did they open the last email?” → high-intent branch vs. re-engagement branch
- Contact property — “is their industry ‘E-commerce’?” → send industry-specific case study
- Purchase status — “are they already a customer?” → skip conversion content; trigger onboarding instead
- Lead score — “is their score above 75?” → notify sales rep immediately
- Link clicked — “did they click the pricing link?” → add to high-intent segment
Start with simple binary conditions (did X happen? yes/no) before adding multi-branch logic. Overly complex workflows with 5+ branches become difficult to maintain and debug.
Step 4: Configure in Your Automation Platform
With your workflow map ready, build it in your platform. Using CampaignOS as the example:
- Create a new workflow — name it with a clear descriptive label including the trigger and goal
- Add the trigger node — select trigger type and configure conditions (e.g., “form: Demo Request Form submitted”)
- Add action nodes — drag in “Send Email” nodes; select or create the email template for each
- Add delay nodes — configure timing between steps; set day/time constraints for when emails actually send
- Add condition nodes — add if/then branches; configure the evaluation criteria for each
- Connect all nodes — draw the flow lines connecting trigger → delay → action → condition → branches
- Configure each email — assign the right template, subject line, and sender info to each email node
Settings to check for every workflow:
- Re-enrollment — can contacts enter the same workflow multiple times? (Usually no for nurture workflows)
- Contact limit — should there be a cap on contacts entering per day? (Useful for protecting deliverability during initial launch)
- Scheduling — are emails restricted to business hours? (Recommended for B2B)
Step 5: Set Exit Conditions
Exit conditions define when a contact leaves the workflow before reaching the end. Without exit conditions, a contact who converts might still receive “convert” emails for days afterward — a significant experience problem.
Standard exit conditions for most workflows:
- Contact unsubscribes (mandatory)
- Contact completes the goal action (purchase, booking, signup)
- Contact’s tag changes (e.g., moves from “lead” to “customer”)
- Contact is manually removed by a team member
For multi-workflow systems, also add exclusion logic: a contact in the “new customer onboarding” workflow should be automatically excluded from any “convert to customer” nurture workflows they might still be enrolled in.
Step 6: Test and Activate
A systematic test before going live saves significant headaches:
- Create a test contact with your own email address
- Manually trigger the workflow for the test contact
- Verify each email arrives, renders correctly, and all links work
- Test the branching logic — trigger the “yes” path conditions and confirm the right branch fires
- Test exit conditions — complete the goal action and confirm the contact exits the workflow
- Check for any personalization token errors ({first_name} displaying as literal text)
After testing, enable the workflow. Watch the first 10-20 real contacts through it to confirm real-world behavior matches your test scenarios before scaling.
What Do Effective Marketing Workflows Look Like?
Example 1: SaaS Trial-to-Paid Onboarding
- Trigger: Free trial created
- Goal: First paid subscription
- Workflow: Day 0 welcome email → Day 2 key feature tutorial → Day 5 check if setup complete (behavioral condition) → Day 7 use case case study → Day 10 upgrade prompt → Day 13 “trial ends in 2 days” reminder → Day 14 final offer
Example 2: E-Commerce Post-Purchase
- Trigger: First purchase completed
- Goal: Second purchase within 30 days
- Workflow: Immediate order confirmation → Day 5 usage/care tips → Day 14 request for review → Day 21 related product recommendation with social proof → Day 30 “first purchase discount expired soon” offer
Example 3: B2B Lead to Sales Handoff
- Trigger: Contact downloads case study (high-intent signal)
- Goal: Demo booked
- Workflow: Immediate case study delivery → check lead score → if above 60: assign to sales rep + send rep’s personal email → if below 60: nurture email sequence → Day 7 pricing comparison email → Day 14 direct demo invitation
Frequently Asked Questions
How complex should my first marketing workflow be?
Your first workflow should be simple: one trigger, a linear sequence of 3-5 emails with time delays, and one exit condition (goal completed or unsubscribed). Avoid branching logic until you understand how contacts behave in your first workflow. Complexity should be added gradually based on observed behavior, not designed upfront based on hypothetical scenarios.
What is the difference between a workflow and a drip campaign?
A drip campaign is a type of workflow — specifically, a time-based sequence of emails sent to contacts who share a trigger event. A workflow is the broader concept that includes any sequence of automated actions (emails, but also internal notifications, tag updates, CRM updates, SMS messages) with any combination of time-based and behavior-based logic. All drip campaigns are workflows, but not all workflows are drip campaigns.
How do I know if my marketing workflow is working?
Track: entry rate (contacts entering the workflow), completion rate (reach the end without dropping out), goal conversion rate (complete the target action), and drop-off email (which step causes the most unsubscribes or exits). Compare conversion rate of contacts who went through the workflow vs. those who didn’t. This comparison is the clearest measure of workflow impact.
Can a contact be in multiple workflows at the same time?
Yes, but this requires careful management. Contacts in multiple active workflows can receive too many messages in a short period, creating a negative experience. Set global frequency caps and configure exclusion rules — for example, a contact in a high-priority onboarding workflow should be excluded from general broadcast campaigns until onboarding completes.
What is the best marketing automation platform for building workflows?
The best workflow builder depends on your needs. CampaignOS offers an open-source visual workflow builder with no per-contact fees. ActiveCampaign is widely considered the best visual builder for mid-market SaaS. HubSpot’s workflow editor is powerful but expensive at scale. For simple workflows, even Mailchimp’s automation features are adequate. Evaluate based on the complexity of branching logic you need and your contact volume pricing.
How do I prevent contacts from receiving the wrong workflow?
Use enrollment criteria that specifically exclude contacts who don’t belong: add conditions like “is not a customer” for acquisition workflows, “lifecycle stage is not ‘new subscriber’” for re-engagement workflows, or “hasn’t purchased product X” for specific product onboarding. Think through who should NOT be in each workflow as carefully as who should be.
How many marketing workflows should a business have?
Most businesses are well-served by 5-10 core workflows: welcome, lead nurture, trial onboarding (if SaaS), new customer onboarding, post-purchase follow-up, re-engagement, and 2-3 behavioral trigger workflows (pricing page visit, high lead score, etc.). Beyond 10-15 active workflows, maintenance complexity grows significantly. Audit and consolidate rather than endlessly adding new workflows.
What is a good workflow conversion rate?
Benchmark conversion rates vary significantly by workflow type: welcome-to-first-purchase sequences average 3-7%, abandoned cart sequences 5-15%, trial-to-paid SaaS onboarding 15-30%, and lead nurture (free content to trial) 5-20%. Compare your rates against industry benchmarks and, more importantly, against your own baseline before automation to measure true incremental impact.
Build Workflows That Actually Convert
CampaignOS offers a full visual workflow builder with drag-and-drop interface, unlimited automation steps, behavioral triggers, and email sequence support — all in one open-source platform with no per-contact pricing.