Marketing Automation Tutorial 2026: Build Your First Automated Workflow in 60 Minutes
This marketing automation tutorial gets you from zero to a live automation workflow in 60 minutes. No prior experience required. We’ll use CampaignOS — a free, open source platform — and build a 5-email welcome series that triggers automatically when a new contact subscribes. By the end, you’ll have a running automation, understand the core workflow logic, and have the foundation to build more complex sequences.
Marketing automation delivers a 544% ROI over three years. The barrier to capturing that ROI is not technical sophistication — it’s starting. This tutorial removes that barrier.
What You’ll Build in This Tutorial
The welcome series is the most impactful single automation any organization can build. It activates immediately when a contact subscribes, delivers value before any ask, and establishes the tone of the relationship. Here’s the series we’ll build:
- Email 1 (Immediate): Welcome message + what to expect
- Email 2 (Day 3): Best resource or content piece
- Email 3 (Day 7): Social proof or case study
- Email 4 (Day 10): Product/service introduction
- Email 5 (Day 14): Clear CTA — trial, demo, or purchase
Step 1: Set Up CampaignOS (15 minutes)
1.1 Create Your Account
Go to app.campaignos.site and create a free account. The signup process takes less than 2 minutes.
1.2 Configure Email Sending
Navigate to Settings → Email Configuration. You have two options:
- Free option: Use CampaignOS’s built-in sending infrastructure for low volumes
- Production option: Connect your own SMTP provider (AWS SES: $0.10/1,000 emails; SendGrid: free tier available)
For this tutorial, use the built-in sending for testing. Configure your sender name and email address.
1.3 Verify Your Domain
Add the SPF and DKIM DNS records that CampaignOS provides in Settings → Domain Verification. These take up to 24 hours to propagate. You can continue building the workflow while waiting.
Step 2: Add Your First Contact (5 minutes)
Navigate to Contacts → Add Contact. Create a test contact with your own email address — this lets you receive the test emails when you activate the workflow.
Fill in: email (your email), first name, last name, and optionally a lifecycle stage (set to “subscriber” for this tutorial).
Step 3: Write the 5 Welcome Emails (20 minutes)
Before building the workflow, write the email content. Navigate to Templates → New Template for each email. Here are the frameworks for each:
Email 1: Welcome (Immediate)
- Subject: “Welcome to [Brand] — here’s what to expect”
- Body: Warm welcome, 2 sentences on what you do, 2 sentences on what they’ll receive (frequency, content types), one easy action (follow on social or visit a specific resource)
- CTA: Low-friction — “Read our most popular guide →”
Email 2: Best Resource (Day 3)
- Subject: “The [topic] guide our readers bookmark”
- Body: Introduce your best content piece. Why it matters to them. One paragraph summary. Link to the full resource.
- CTA: “Read the guide →”
Emails 3–5: Follow the Same Pattern
Each email delivers a specific value before the final CTA. Social proof on Day 7, product intro on Day 10, and your primary conversion CTA on Day 14. For full email copywriting guidance, see our email marketing best practices guide.
Step 4: Build the Workflow (15 minutes)
Navigate to Automations → New Workflow. Give it a name: “Welcome Series.”
Add the Trigger
Click “Add Trigger.” Select “Contact Created” (or “Contact joins segment: New Subscribers” for more control). This fires the workflow whenever a new contact is added.
Add the First Email Action
Click the “+” below the trigger. Select “Send Email.” Choose the Email 1 template you created. This email sends immediately when the trigger fires.
Add a Delay
Click “+” below Email 1. Select “Wait.” Set to 3 days. This is the delay between Email 1 and Email 2.
Repeat for Emails 2–5
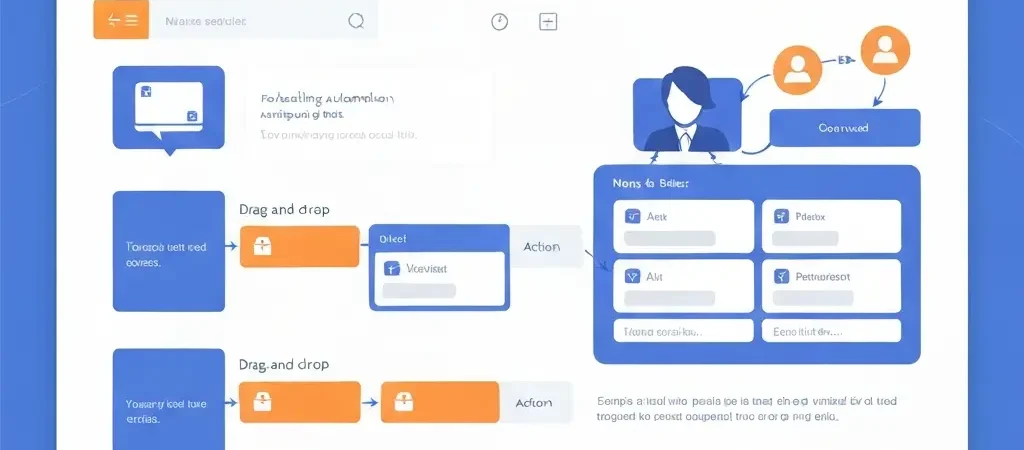
Continue adding: Email 2 action → 4-day wait → Email 3 action → 3-day wait → Email 4 action → 4-day wait → Email 5 action. Your workflow canvas should show a linear chain of alternating email actions and delay steps.
For advanced workflow branching based on email clicks, see our guide on the visual workflow builder.
Step 5: Test and Activate (5 minutes)
Send a Test
Before activating, use the “Test” function for each email template. Send to your own address. Verify rendering, links, and unsubscribe functionality.
Activate the Workflow
Click “Activate Workflow.” The workflow is now live. Create a new test contact (or import one) — the welcome series should trigger immediately for that contact.
Monitor the First 24 Hours
Check Automations → Workflow Runs to verify the first email fired correctly. Check your inbox to confirm it arrived in the primary tab, not promotions or spam. If it lands in spam, review your domain authentication status.
What to Build Next
Now that you have your first workflow running, prioritize these next:
- Lead nurture sequence: For contacts who engage with your content but haven’t converted
- Re-engagement campaign: For contacts inactive for 90+ days
- Post-purchase follow-up: For customers — review request, upsell, education
The full tutorial for each is in our complete marketing automation tutorial. For multi-channel expansion (adding push notifications and SMS to your workflows), see the n8n integration guide.
Frequently Asked Questions
How long does it take to build a marketing automation workflow?
A simple 5-email welcome series takes 45–60 minutes to build for the first time, including writing the email content. A complex multi-branch workflow with conditions, multiple triggers, and multi-channel messages takes 2–4 hours. The more time you invest in writing high-quality email content upfront, the better your automation performance — content quality is the primary variable in automation ROI.
Is CampaignOS suitable for marketing automation beginners?
Yes. CampaignOS’s visual workflow builder uses intuitive drag-and-drop blocks for triggers, delays, conditions, and actions. No coding is required for standard automation workflows. The interface is comparable in usability to Mailchimp or ActiveCampaign, with the added advantages of being open source, free to start, and supporting multi-channel messaging natively.
What trigger types does CampaignOS support for automation?
CampaignOS supports event-based triggers (contact created, form submitted, webhook event received, email clicked), schedule-based triggers (send at specific time or recurring schedule), and segment-based triggers (contact enters or exits a segment). Webhook-based triggers connect to external systems — your ecommerce platform, product analytics tool, or any system that can send HTTP requests.
Build Your First Automation in CampaignOS Today
Free to start, no credit card required. Build and activate your first marketing automation workflow in under 60 minutes with CampaignOS’s intuitive visual workflow builder.